
For general information on competitions see Competition Rules, for information on digital image competitions see Submitting digital images.
PhotoEntry is the system that the Club uses for members to enter digital images for competitions. To enter a digital image for a club competition, go to https://compent.photoentry.uk/compent/ and log in. (If you do not have a login, contact Simon or Cara.) It's designed to be easy to use. Unlike our previous methods of sending images, the file name does not matter, nor do the image dimensions. (A feature of PhotoEntry is that where necessary it resizes images automatically.)
The system is very quick to use, and largely self-explanatory. If you are happy to learn by doing, by all means go ahead and skip the rest of this page; just log in and play. Here is a direct link to a dummy competition, and you can add images to that. General help can be found at https://photoentry.uk/faq/faq.html.
If you are cautious about the "try-it-and-see" method, here are step-by-step instructions below, but don't be put off by the detail; it really is very quick to enter an image. Opening a browser, logging in to PhotoEntry and uploading an image takes less than a minute.
General information about digital (DPI) competitions here.
Using PhotoEntry - step-by-step
Before you can use the system, you need a login, which will be emailed to you, and will look something like this:
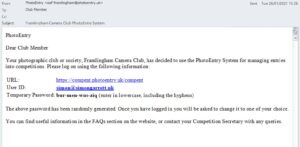
Click the link (or type the URL in a browser) and log in with your User ID (your email) and the temporary password (the one in the picture above won't work for you!). You will be prompted to change the temporary password the first time you log in.
Once you have logged in, you will see the main menu:
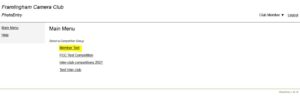
Competitions are organised in "Groups".
For a "real" competition choose the appropriate group and competition (the group will typically be "Internal competitions"). While everyone is learning the system, there is a group called "Member Test". Choose that one to try it out. You will see a list of competitions in the "Member Test" group, probably only one:
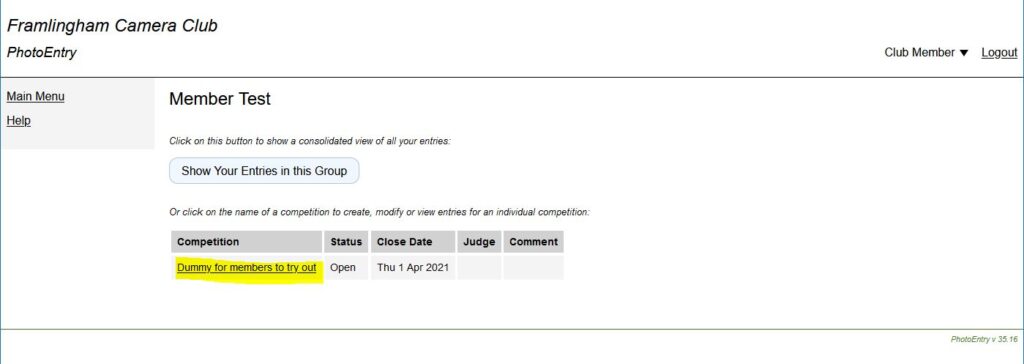
Choose "Dummy for members to try out" (or for an actual competition, choose the relevant one). Next you will see this a screen like this:
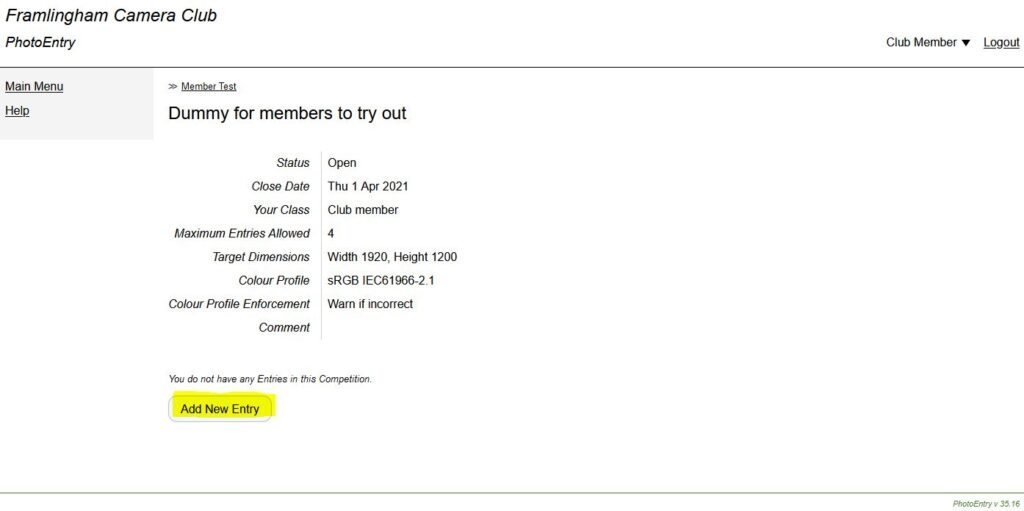
The "Target Dimensions" shown indicate the projector resolution, but you don't have to resize; the system does that if necessary.
Click "Add New Entry", and you will see a screen like this:
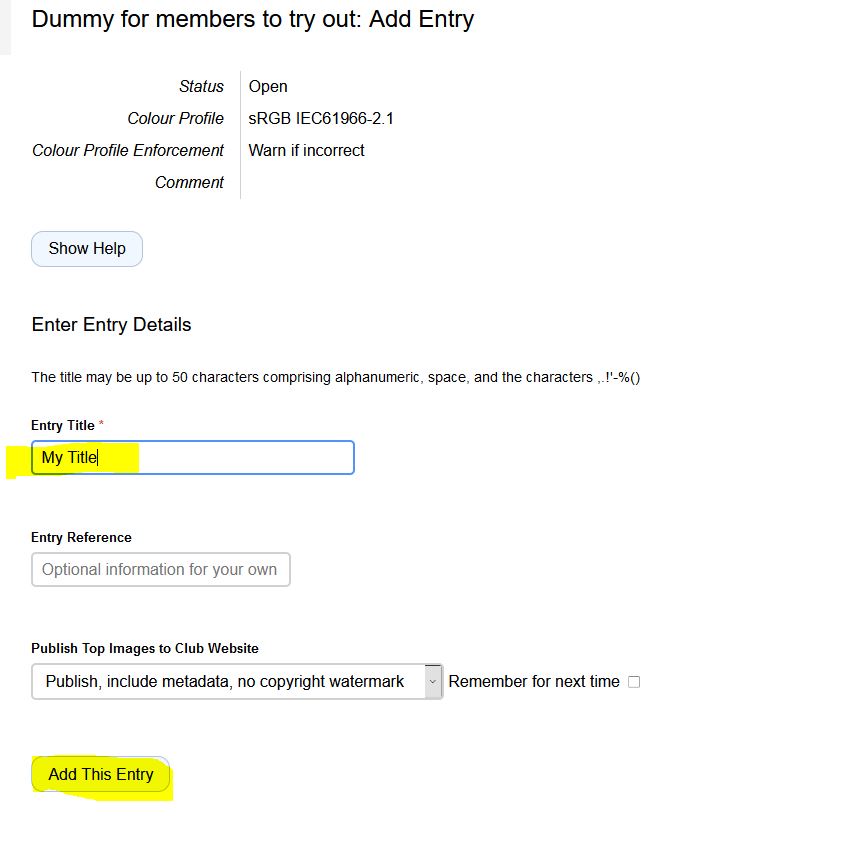
Enter a title where indicated (this doesn't need to be the file name), and then click "Add this Entry". Next you have to choose the image file to upload:
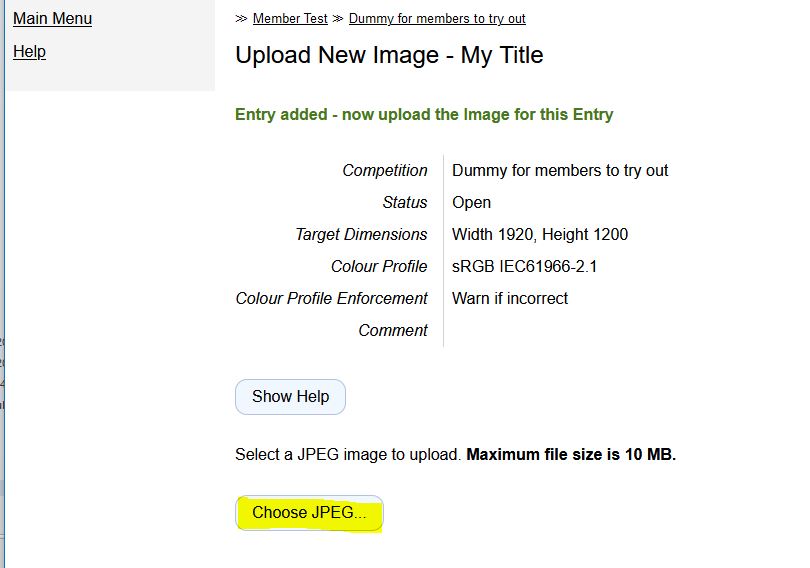
Click "Choose JPEG..." and next select the image file on your computer:
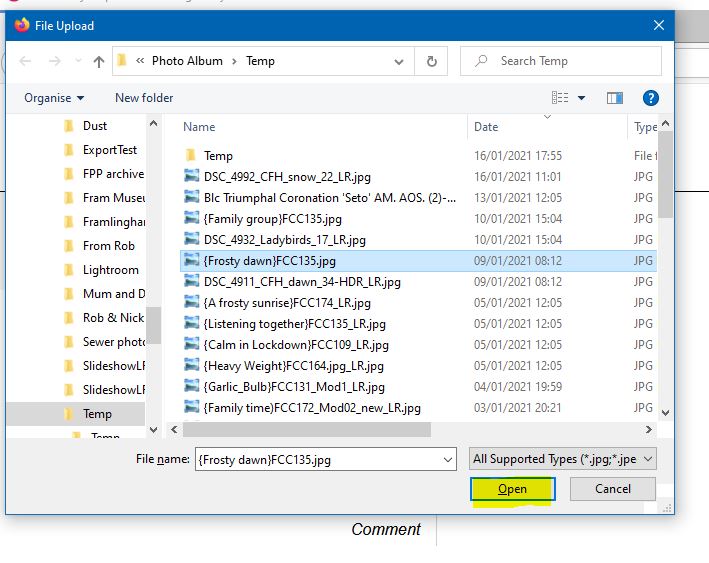
The image can be any title, but must not be larger than 10Mbyte.
Don't forget to click "Open". This illustration is for a PC, it is slightly different on a Mac.
This takes you back to the previous screen, but there is one more important step:
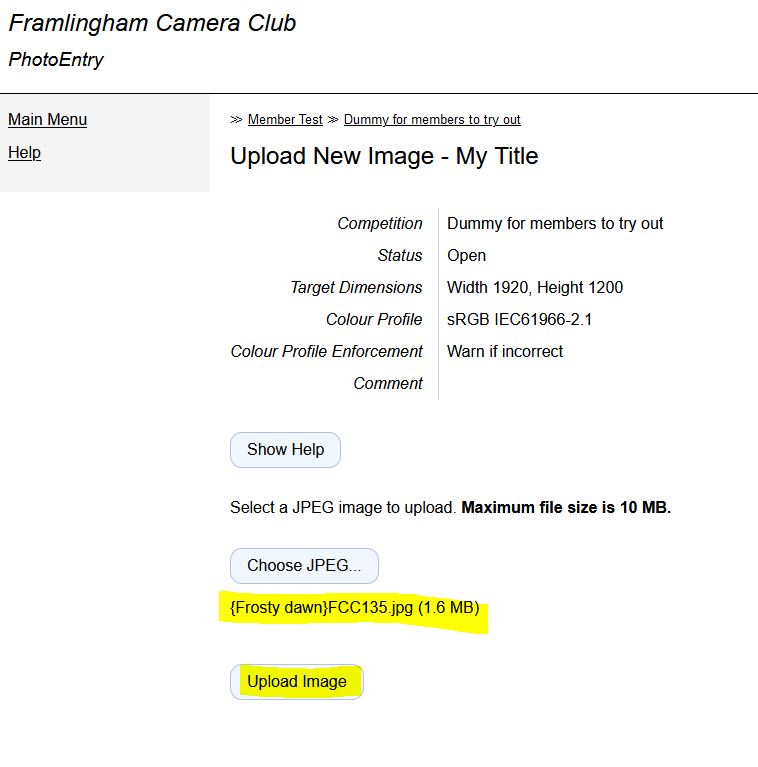
This shows the name of the image you have just selected on your computer. Now click "Upload Image". Don't forget this, or the image is not uploaded. After the image is uploaded, you will see something like this:
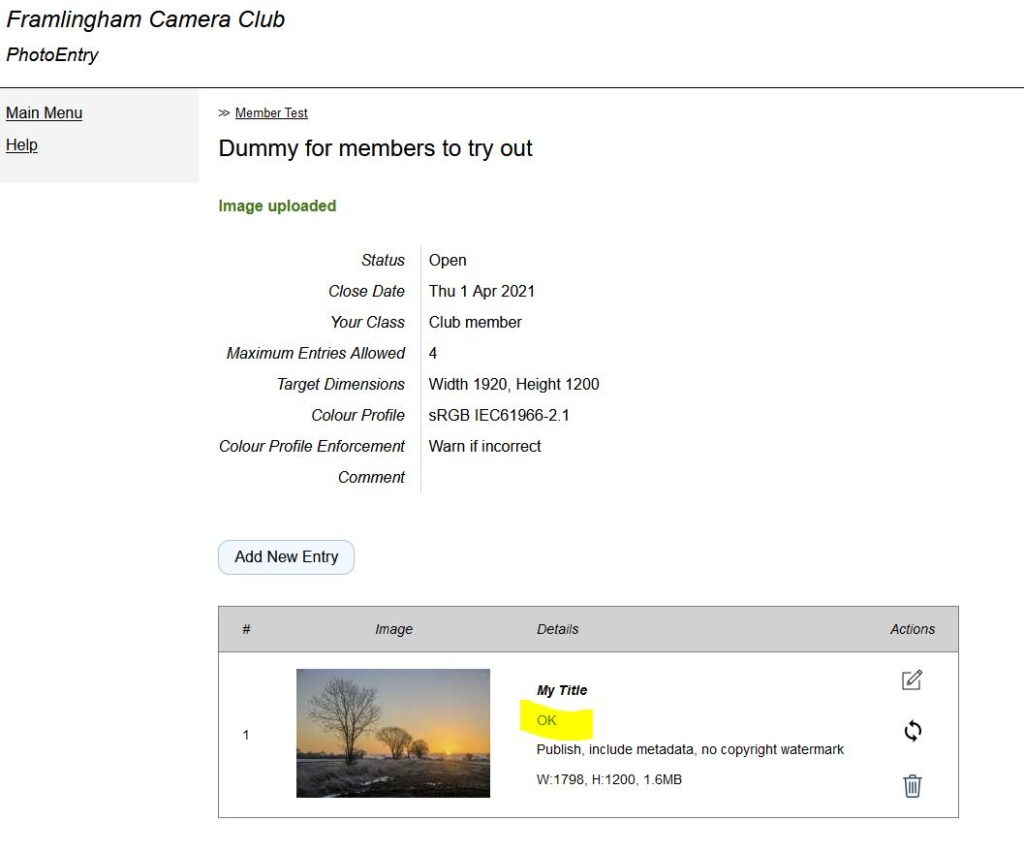
Once you see the image, it has been uploaded. If the word "OK" appears in green, all is well. If instead there is a red warning, hover the mouse over the warning to see if there is a problem.
Now you're all done. You can enter more images if you like.
When you have more than one entry, up-arrows and down-arrows will appear to the left of each image. You can click these to change the order of images. This matters only if we have so many entries that we have to reduce the number; in this case, we cull last choices first.